Event-Specific Maps
To get started with creating a venue map for a specific event, select “Edit Venue Map” from the lefthand menu on your event dashboard.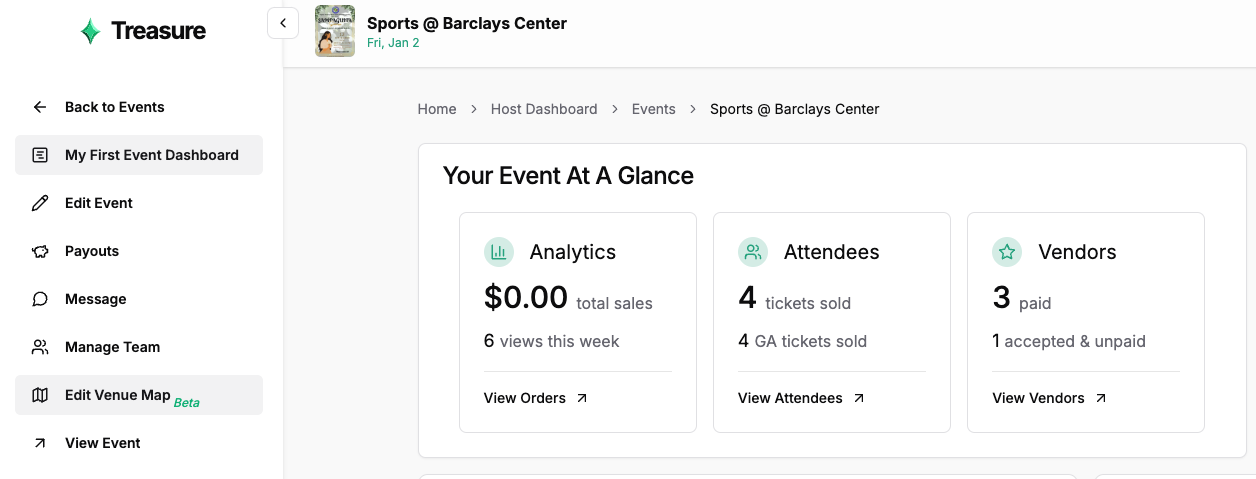
Building Your Venue Map
After you decide whether you want to build a template or an event-specific map, you can get started on building your first venue map! Below are the steps for creating and going live on your event page with a venue map:If you are building a venue map template, you will need to navigate into a specific event after creating the template to set the template as the venue map for that event. You can do this by navigating to the desired event’s dashboard and selecting your new template from the “Edit Venue Map” page on the lefthand menu of the dashboard.
Import Your Floorplan
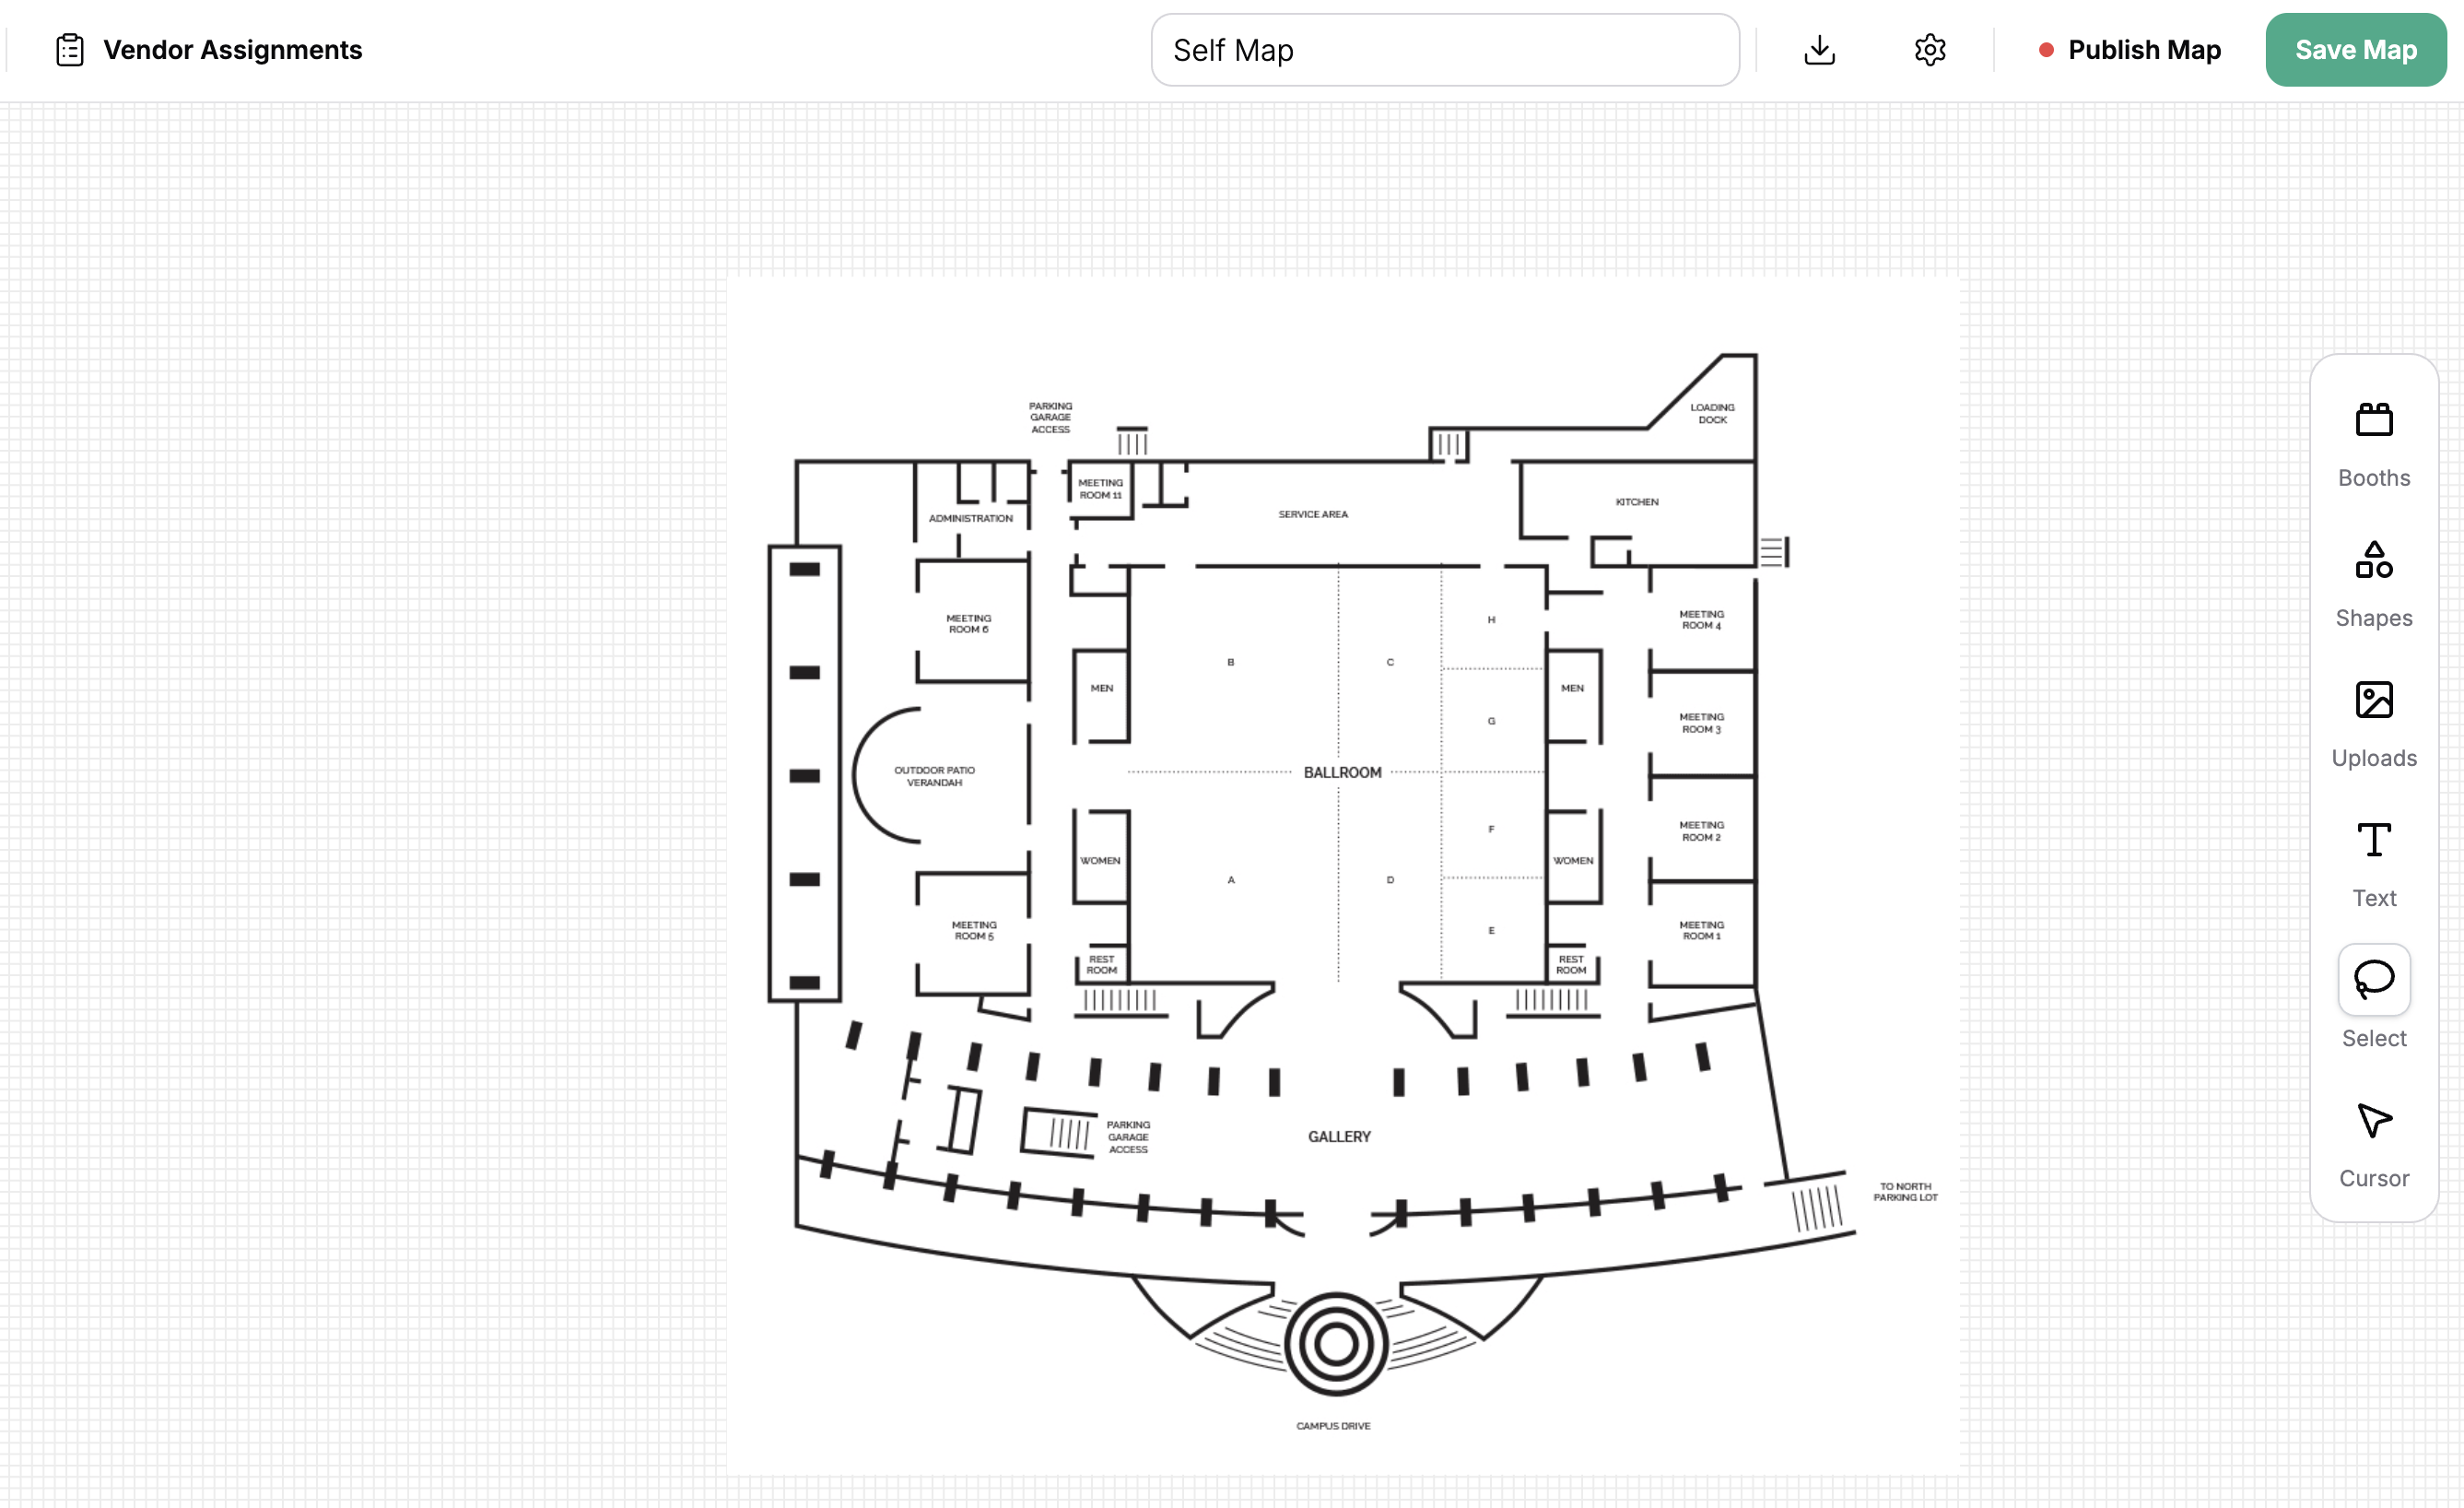
Select the “Upload” image icon in the right hand toolbar to import an accurate image of your floor plan that you will layout your vendor tables within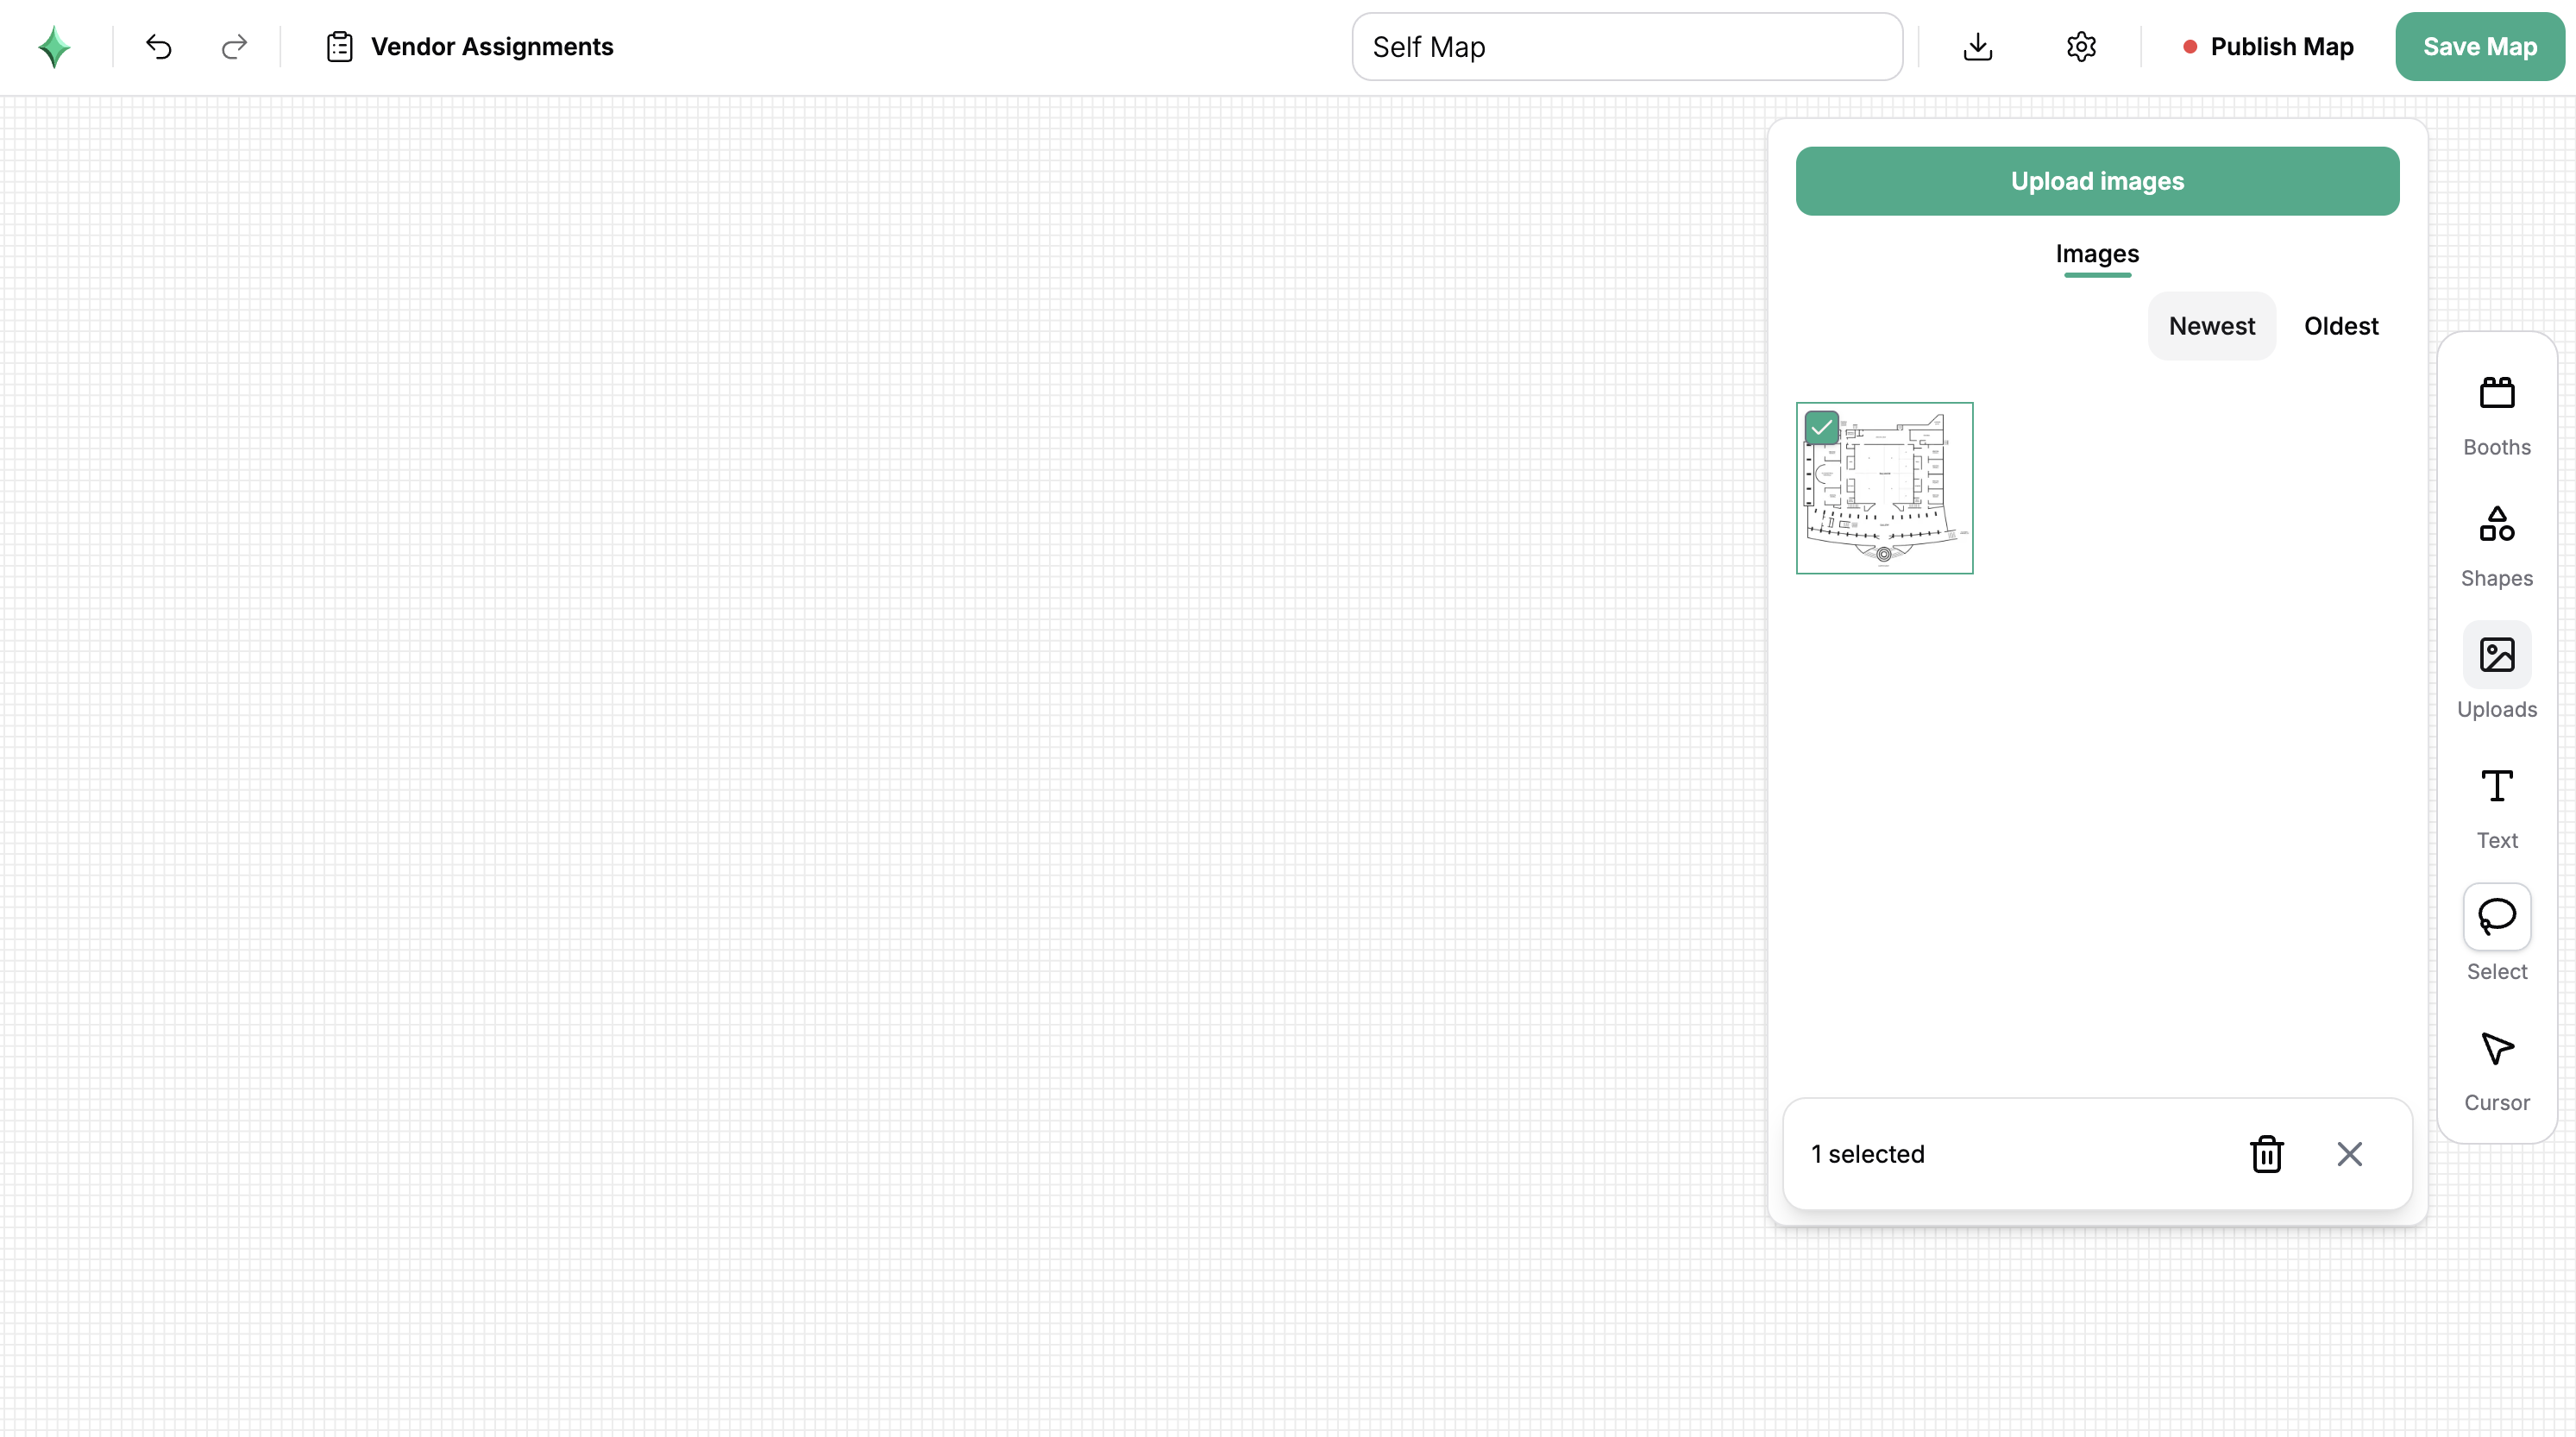
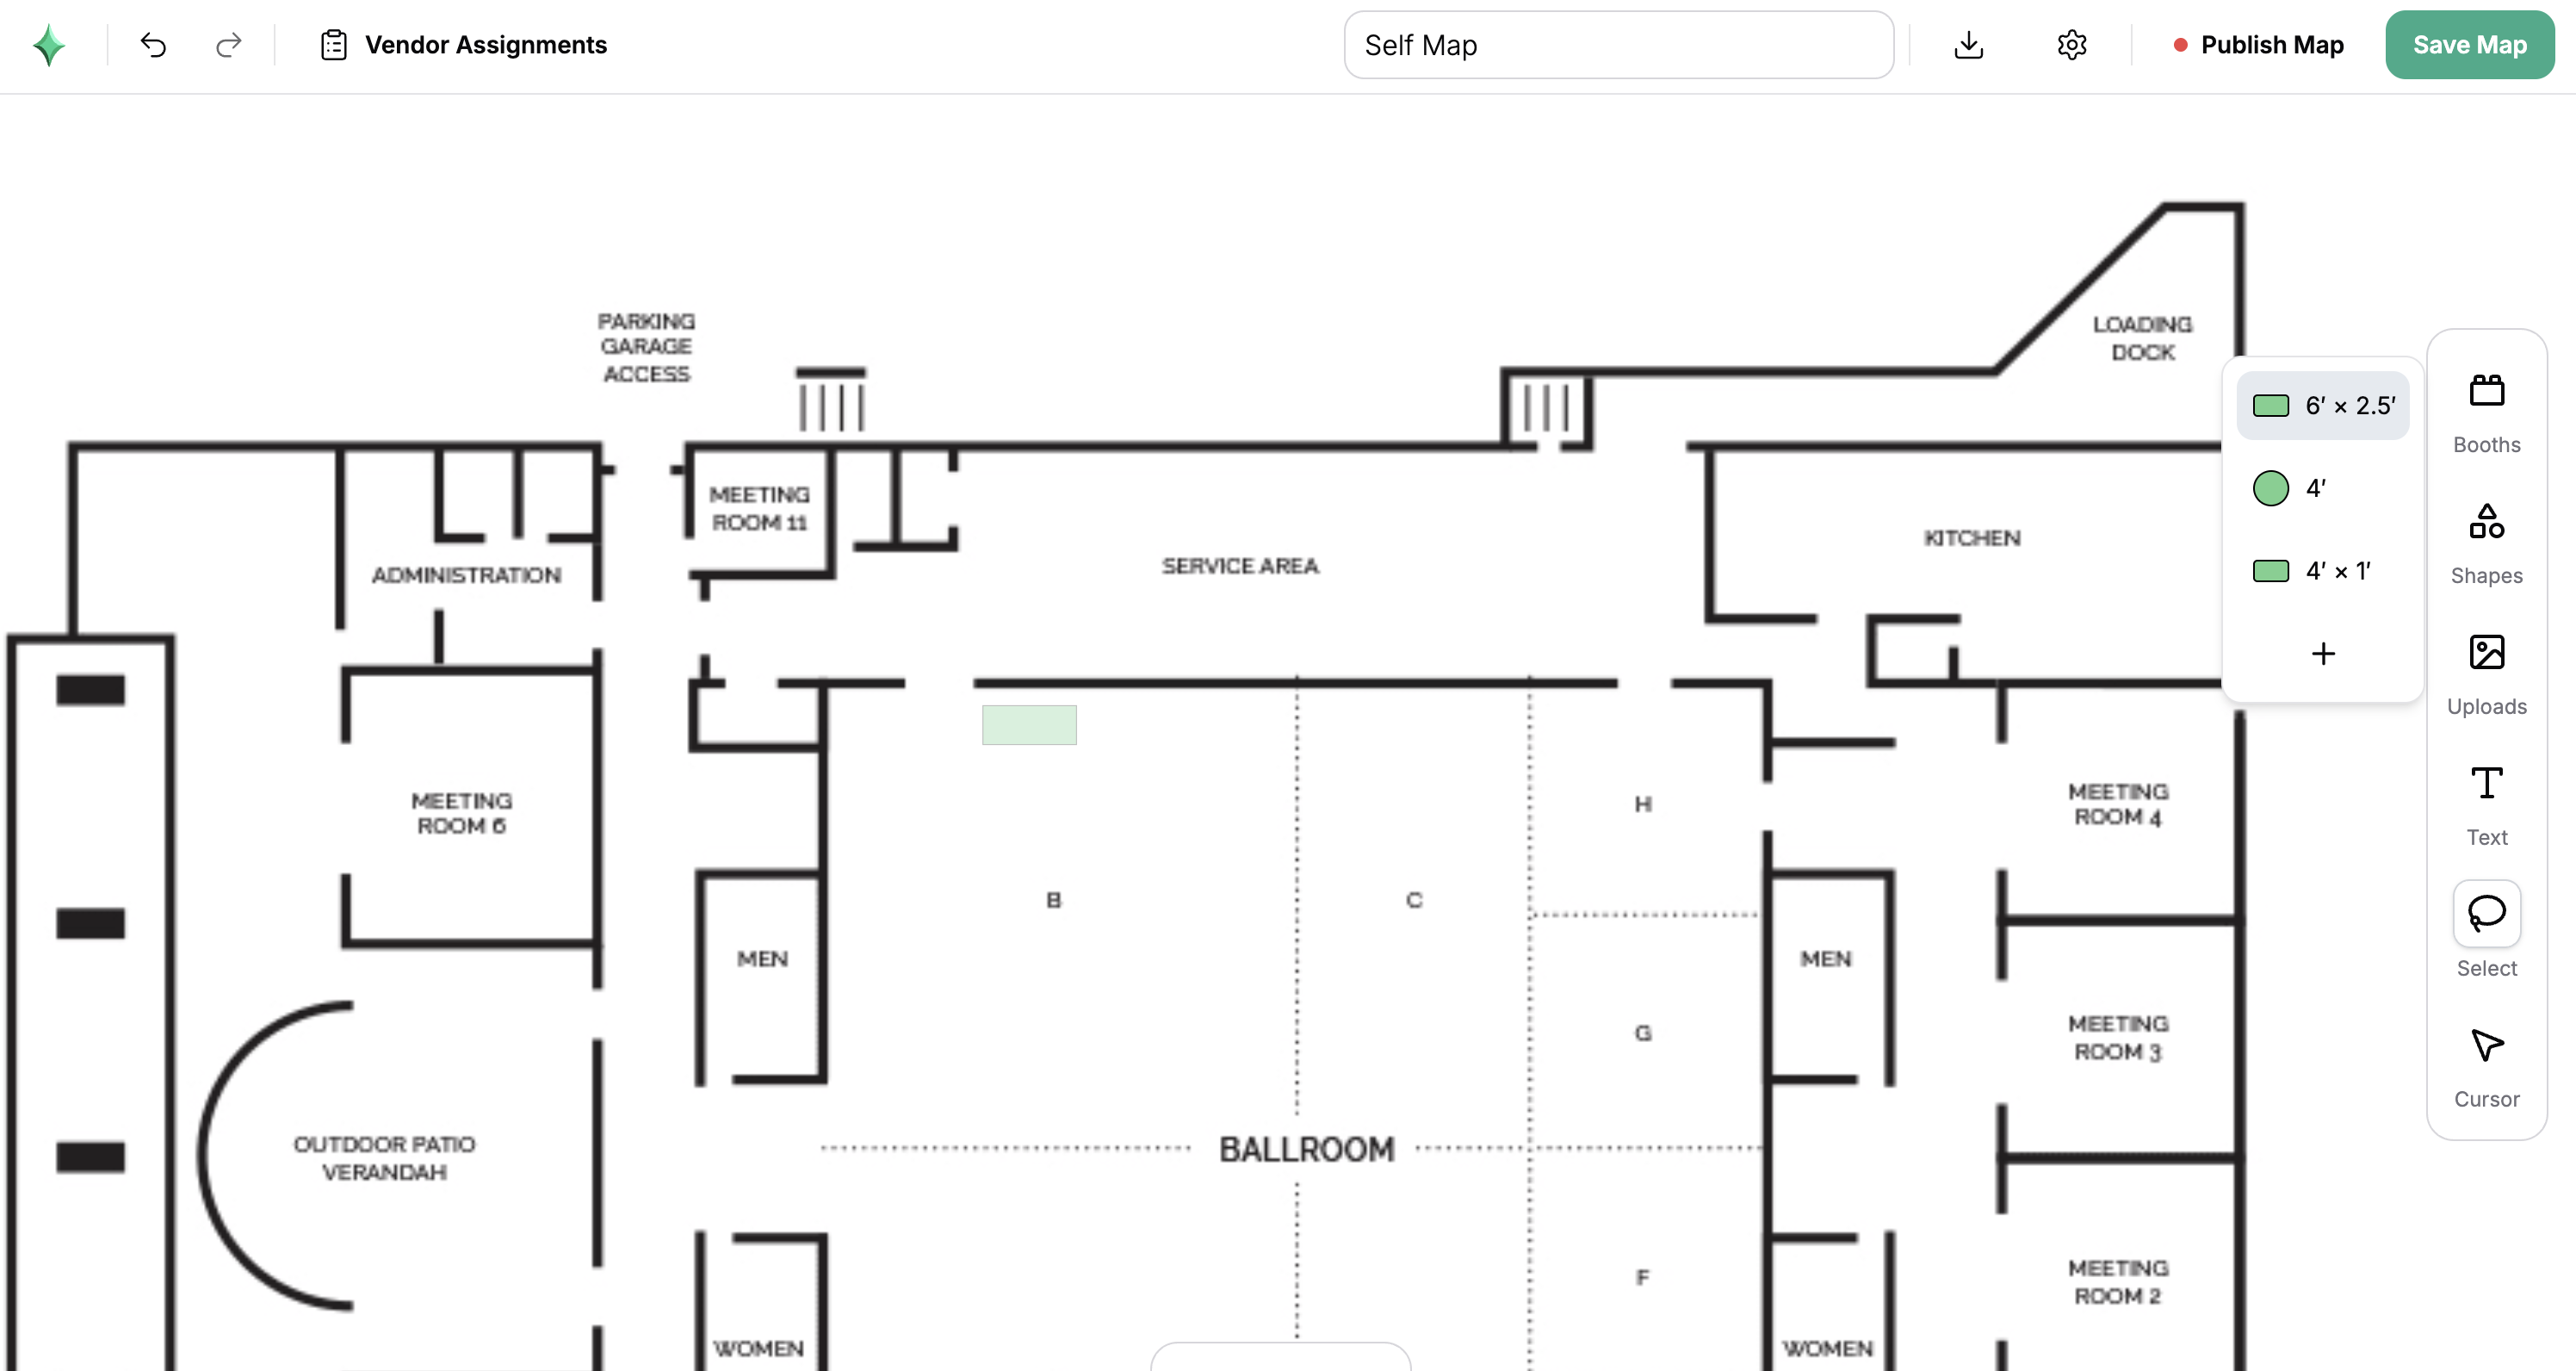
Place Vendor Booths
When your floor plan is uploaded, you can begin placing your vendor booths! To do so, click the “Booths” icon on the right hand toolbar. Then, select one of the default booths or create a new one of your own dimensions. You can then select a booth and use the menu that pops up beneath the booth to change things like color, booth number, font size, and dimensions. You’re also able to duplicate the shape, lock its position, or alter its dimensions.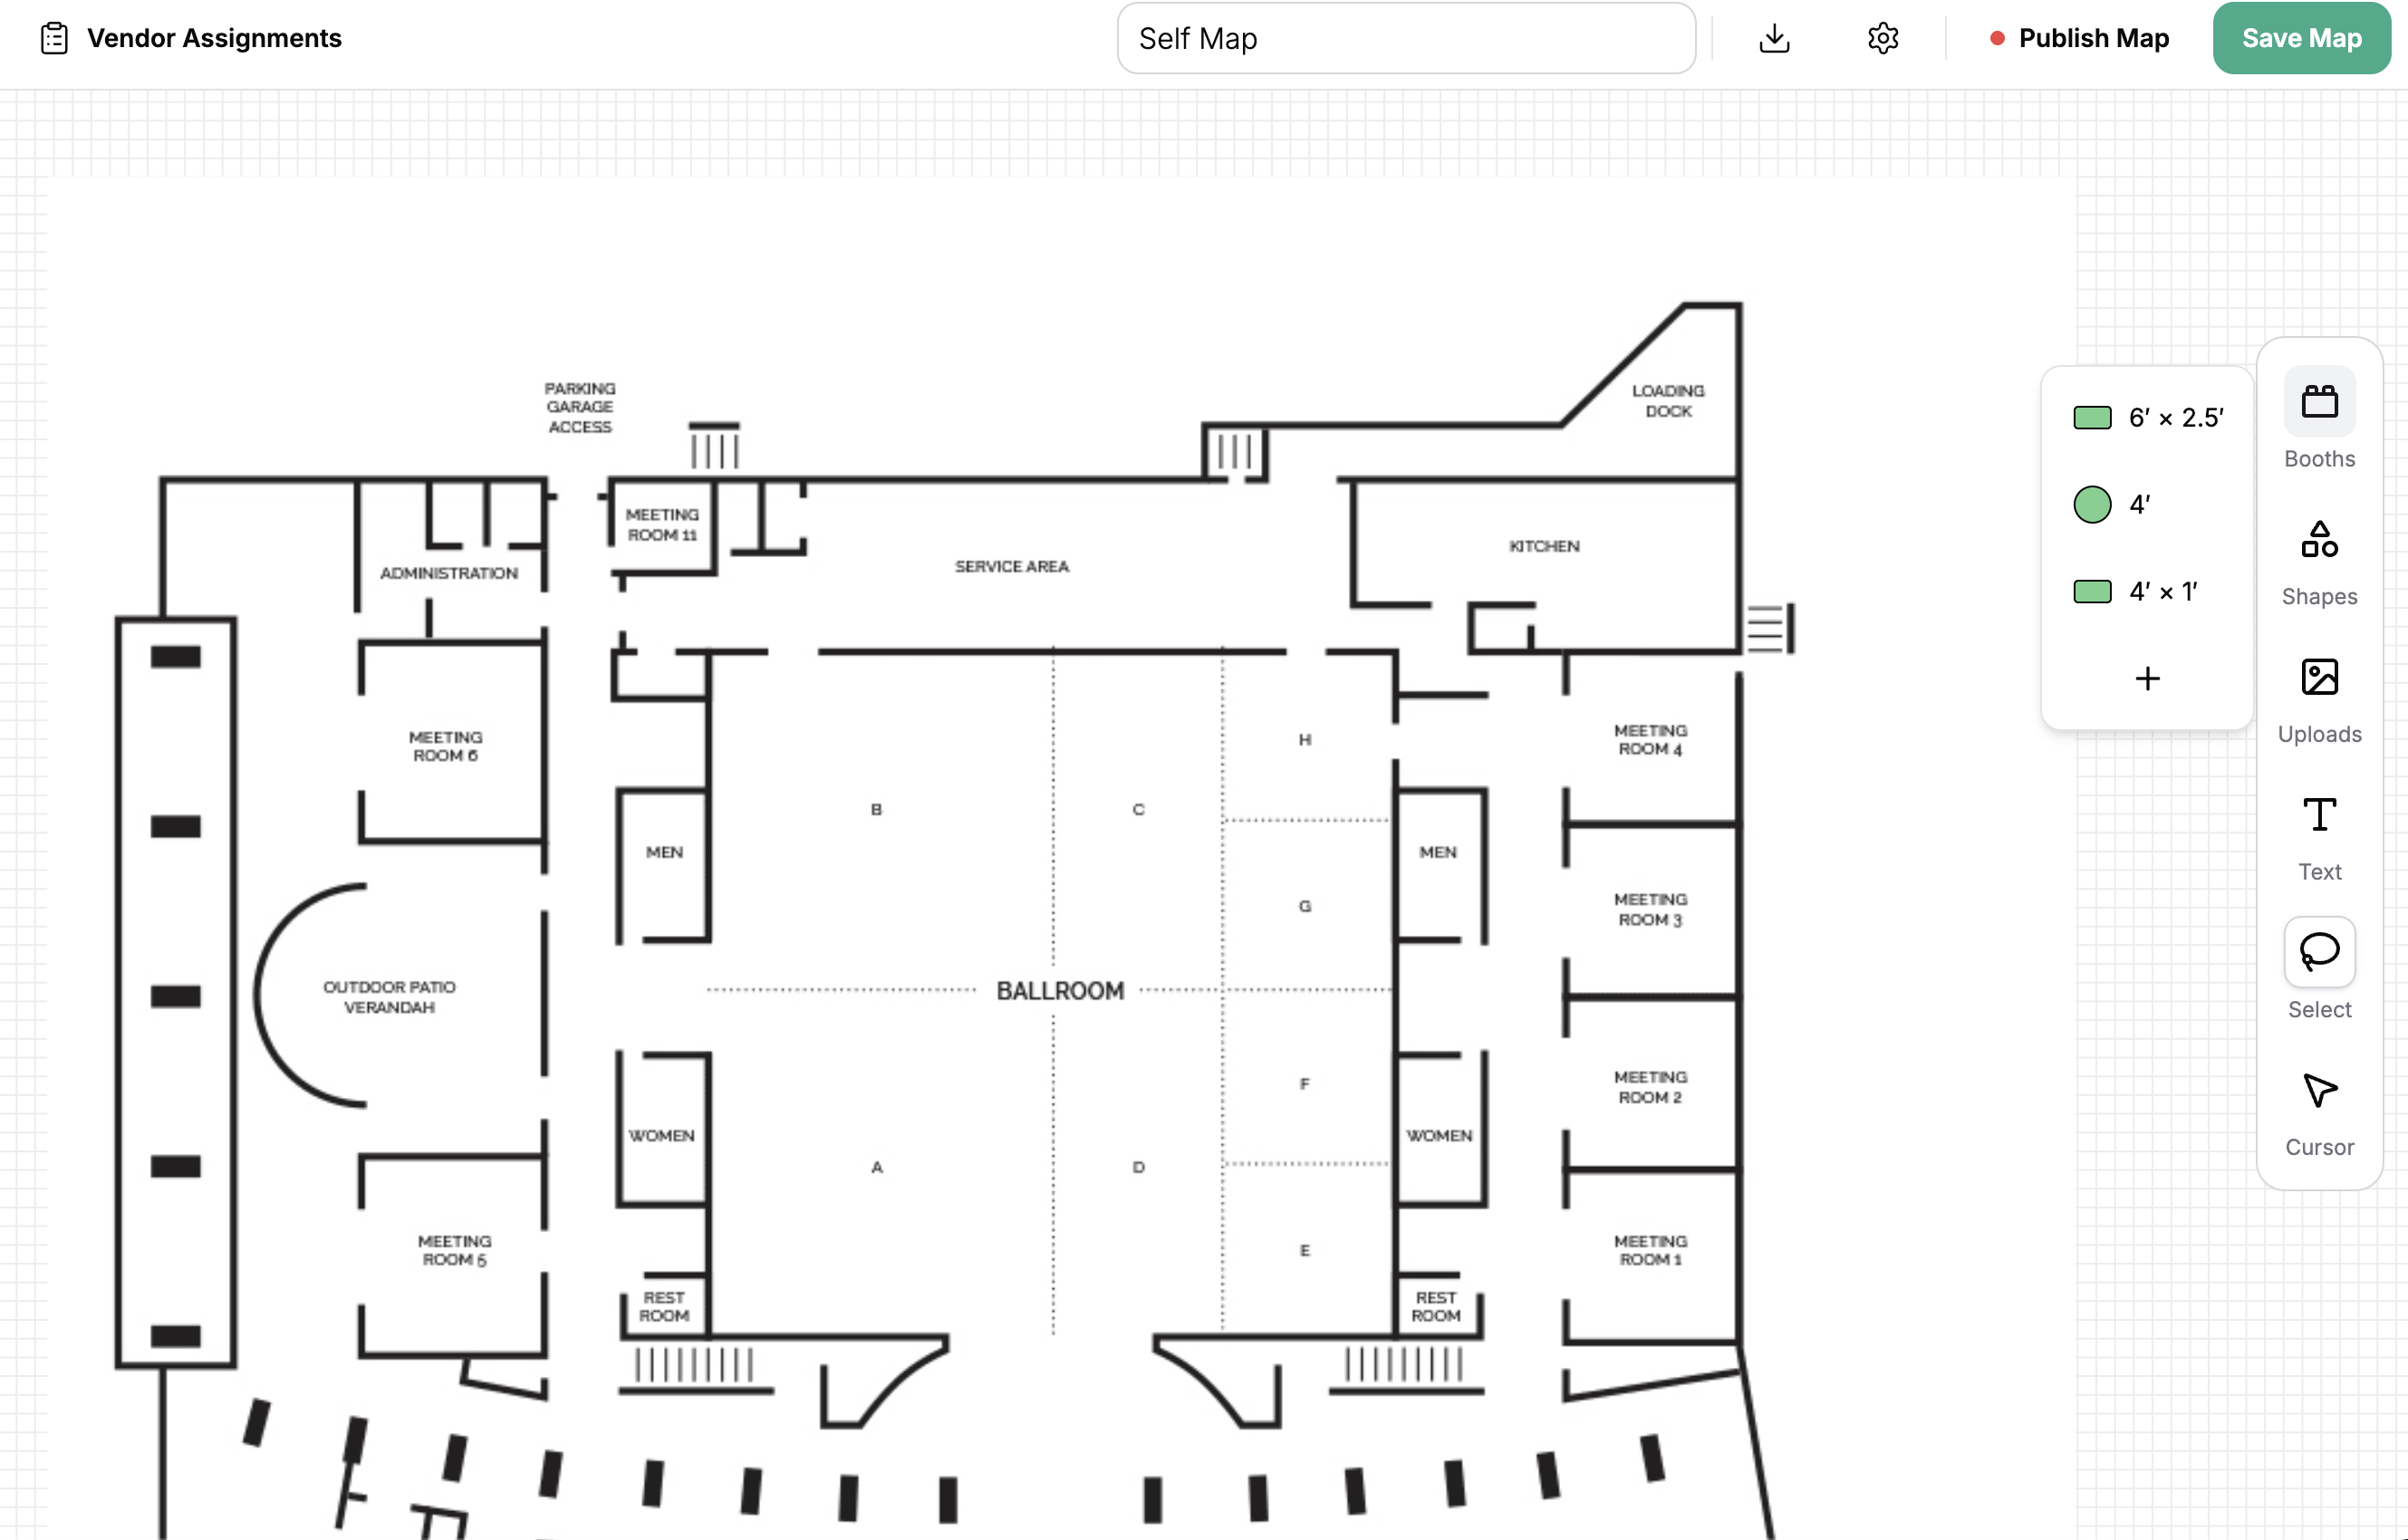

If you are using the vendor self-select feature, it’s very important that you assign each table to a type using the booth icon in the menu below each booth. This keeps vendor aware of the price they should expect to pay for their booth and makes assignment automatic after checkout is complete. For more on vendor self-select, check out the full guide on vendor management.
Place Event Amenities
You can add event amenities, like restrooms and dining areas from the bookshelf icon or other shapes that affect the layout of your venue from the “Shapes” button on the same right hand toolbar.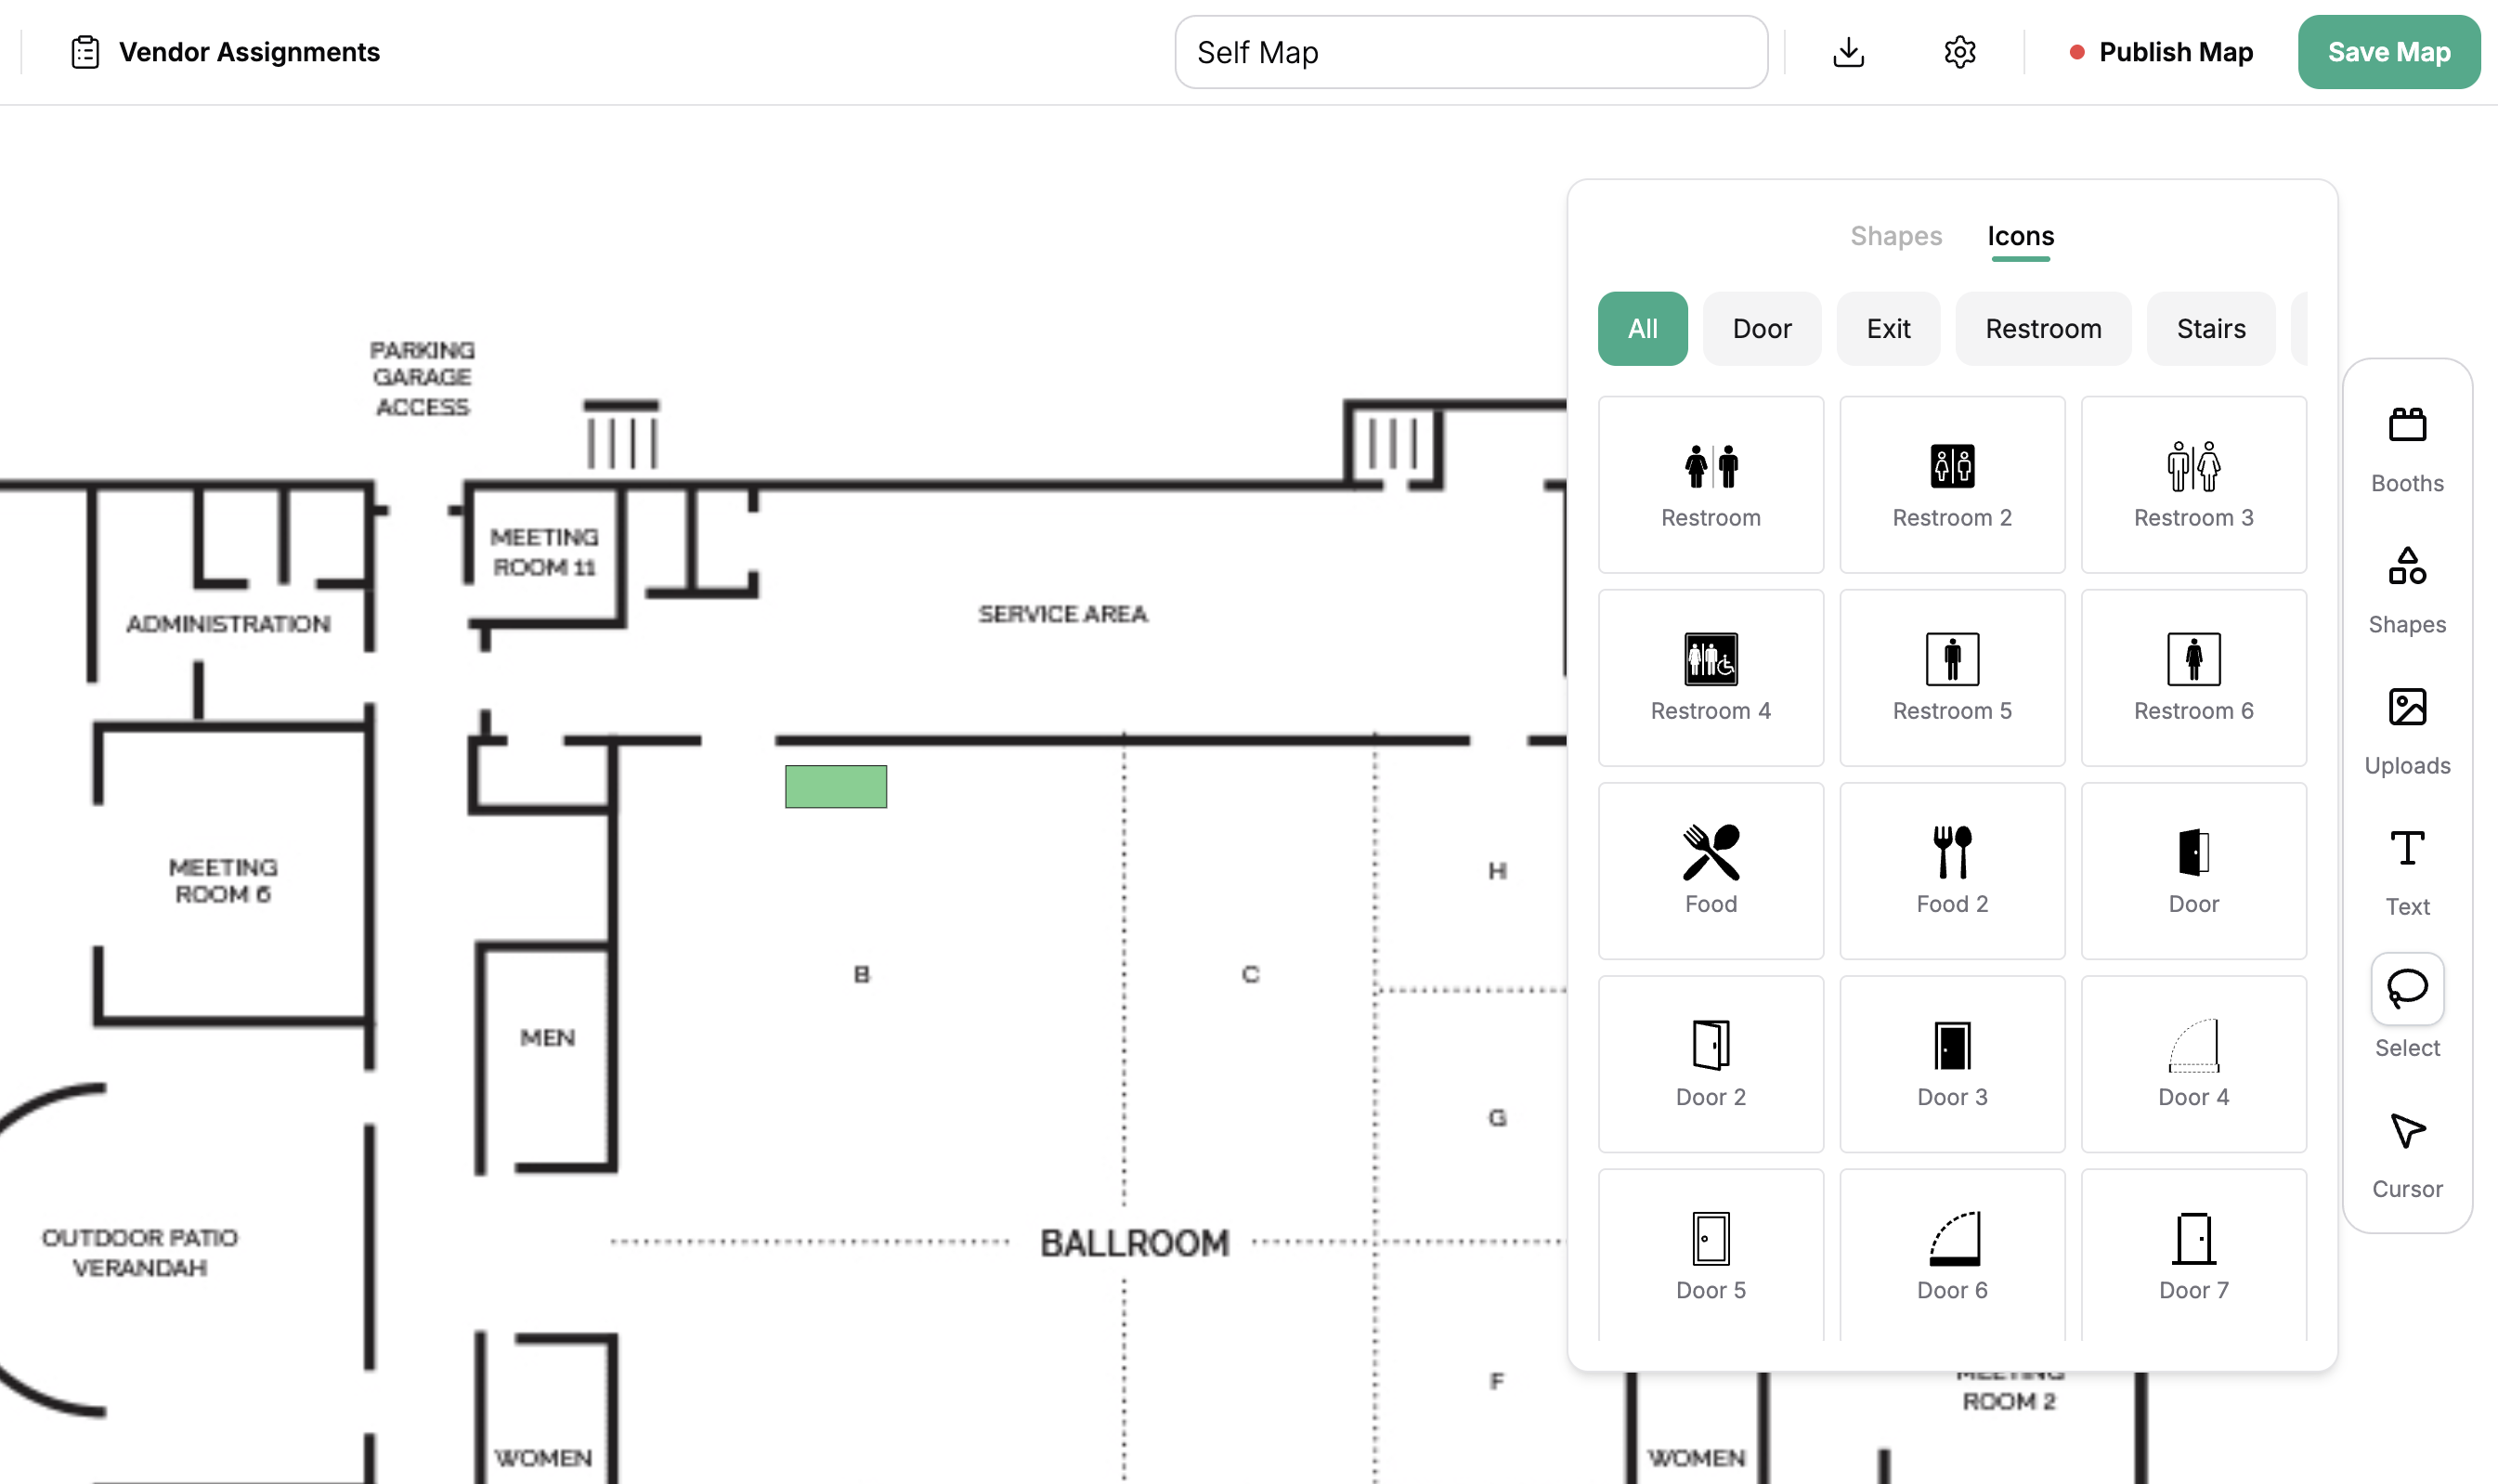
Assign Vendors
Once you finish setting up your table and other event landmarks, you can begin to assign your vendors to tables. Clicking into “Vendor Assignments” in the top left corner of your map will expand the vendor assignment menu that includes a list of every accepted vendor as well as the tables they requested in their application. From this list, you are able to click into any vendor and assign them to tables on your newly created map. You can also highlight specific vendors to promote them even further on your public map (see guide on vendor highlights). Information from a vendor’s application and the table types they booked will automatically appear here.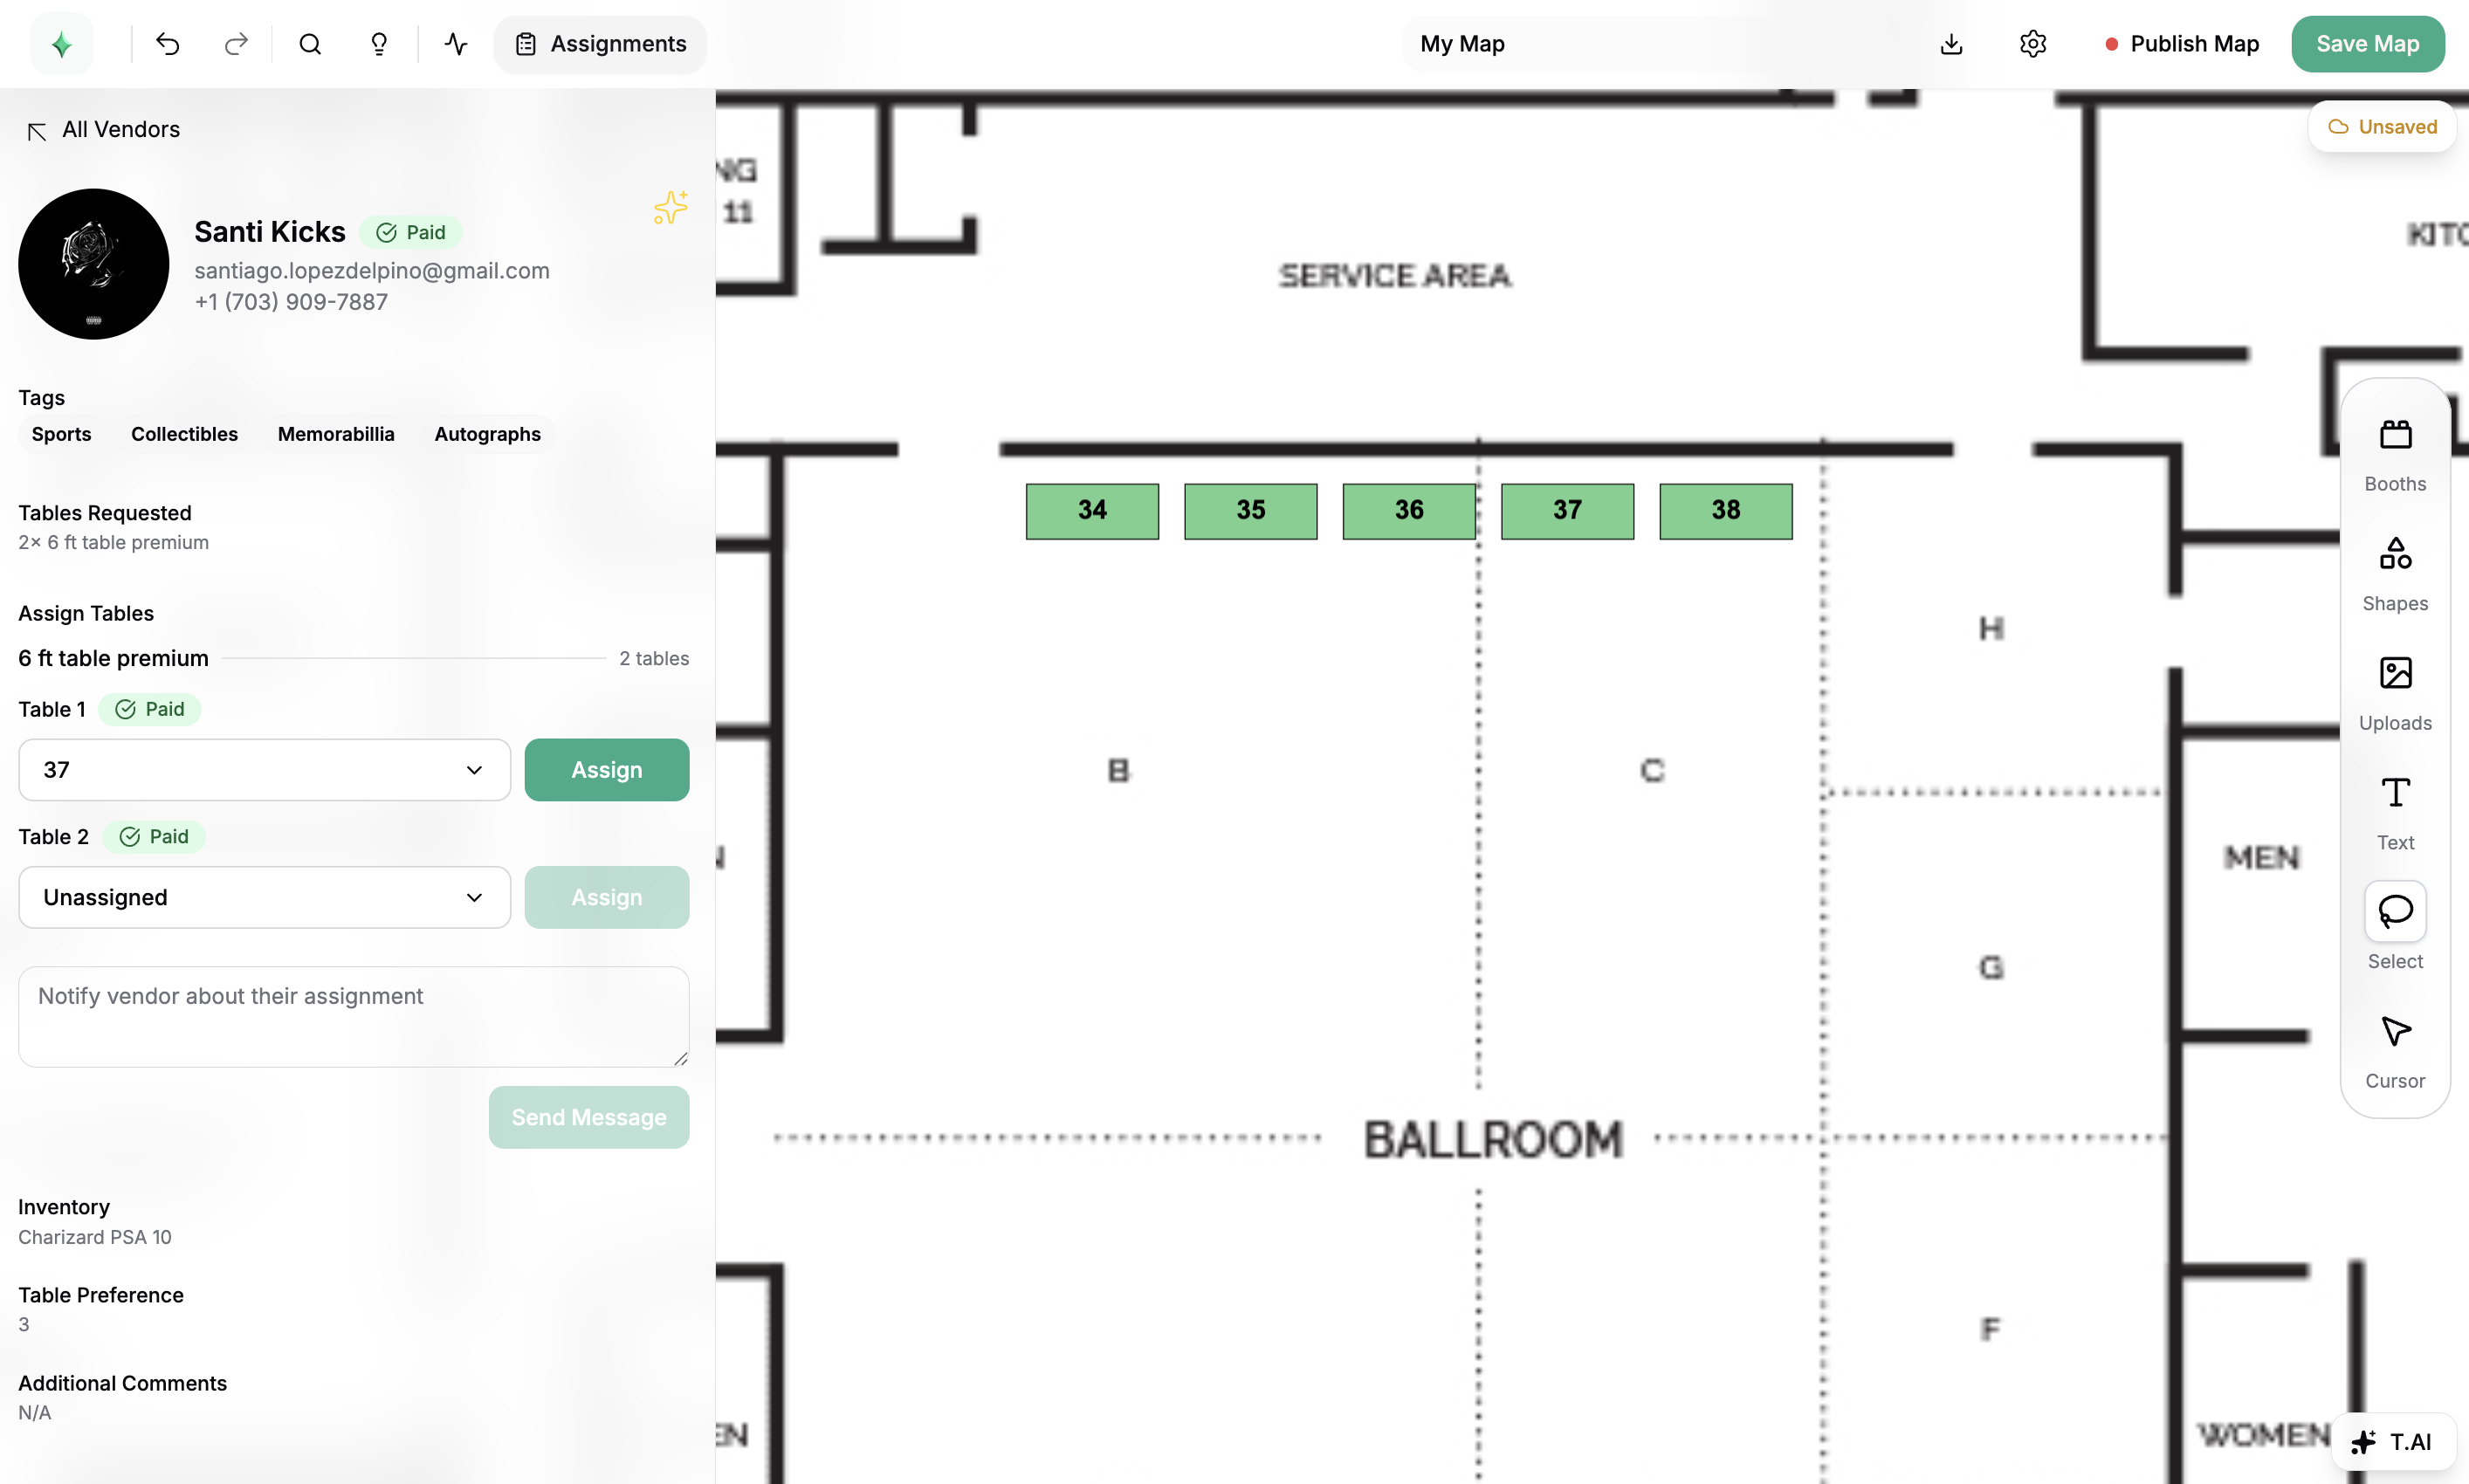
Publish Your Map
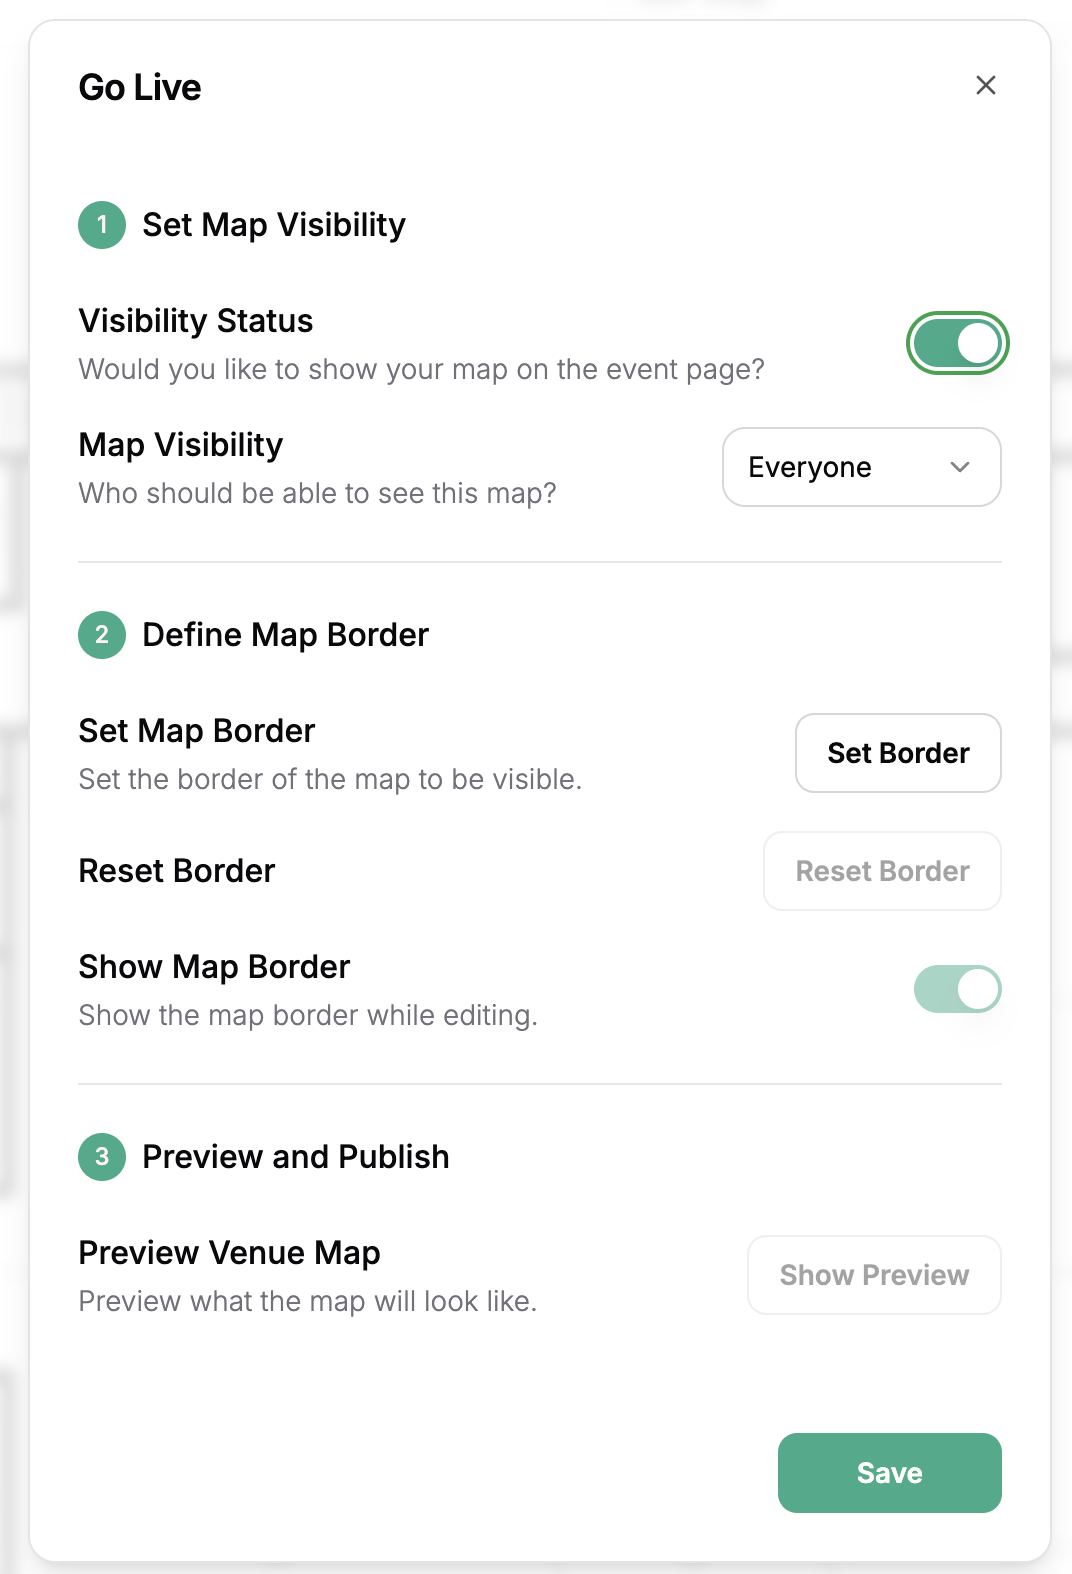
When your map is completely built and you want to share it with your vendors or make it public on your event page, you can follow these steps:
- Save your map and click the “Publish Map” button in the top right of your map
- In the “Go Live” panel that pops up, toggle the map visibility on, and select whether everyone or just your vendors can see the map.
- Set a border for your map that encompasses the entire venue map you’ve created (it is recommended to include additional padding in the border around your floor plan for better visibility on your event page).
- Check out a preview of what your venue map will look like when it’s live on your page
-
Save your settings!

Your map will now be live! You can go check out your event page to see what the audience that you selected in the visibility settings will see.